Quick Set 3D Acrylic Instrument Panels : Red Fox Studio : Product Review

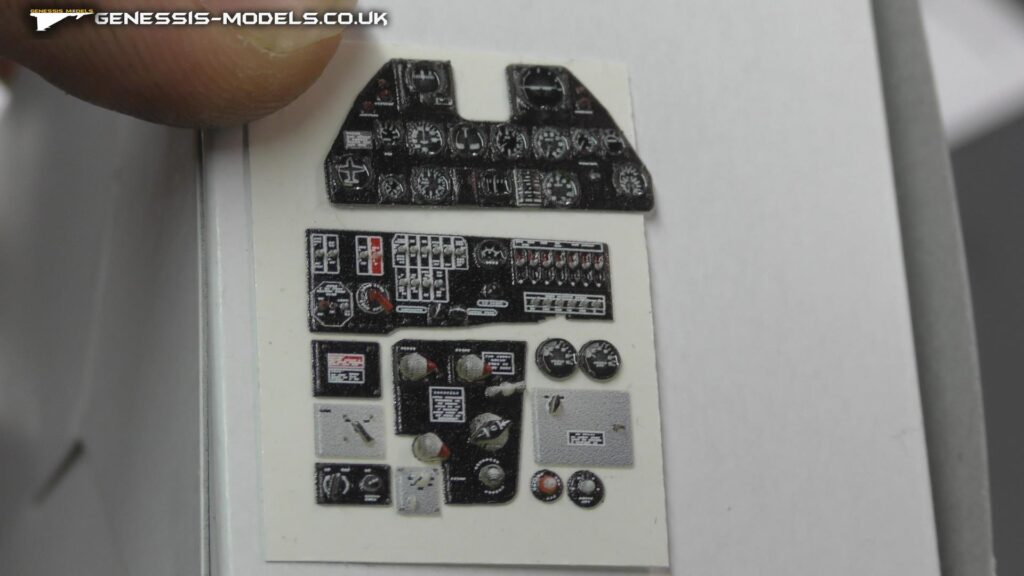
3D Acrylic Instrument Panels Manufacturer: Red Fox Studio Scale: All Area: Aftermarket Parts Camera Angels: 3 Camera Definition: Full HD + 4K Presented By: Bobby Waldron item No: RFSQS Red Fox Studio manufactures 3D acrylic resin instrument panels and details for aircraft cockpits in several scales. With a wide-ranging catalogue featuring references for the most popular…

Read More

BUILDING ENGINES : BUILDING THE HARRIER GR.1/GR.3 KINETICS : 1/48 SCALE : EPISODE.8

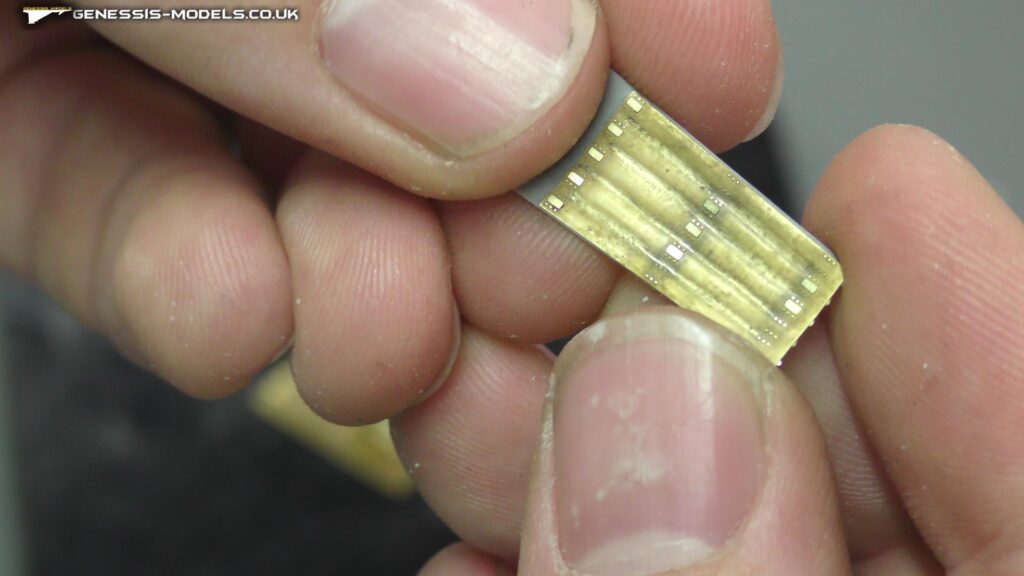
HARRIER GR.1/GR.3 EPISODE.8 We tackle some more photo-etch where I explain in more detail than the instructions how to build the engine area, with some tips on dealing with flash, I also show you how to add photo-etch vortex generators in a nice secure good looking way. Special Tools: CMK : Razor Saw Holder Consumables: Mr Hobby…

Read More

METAL POLISHING POWDER : BUILDING THE HARRIER GR.1/GR.3 KINETICS : 1/48 SCALE : EPISODE.7

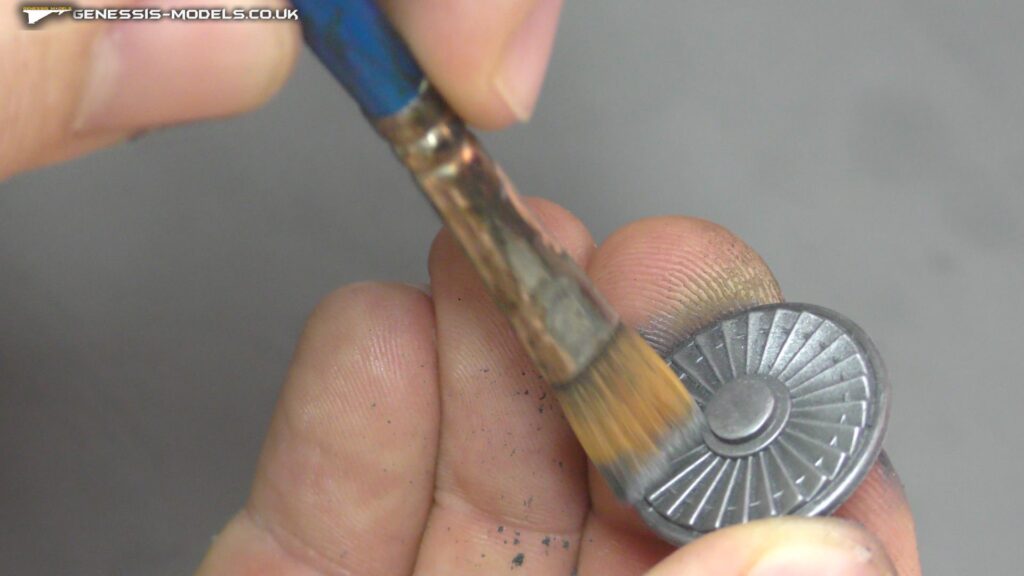
HARRIER GR.1/GR.3 EPISODE.7 With this Harrier by Kinetics, we need to spend a bit of time around the air intakes, so I will show you how to use some powdered buffable metal paints for our intake fans as well as making some mask for them too, we move along with getting the wings ready with…

Read More

FUSELAGE CONSTRUCTION : BUILDING THE HARRIER GR.1/GR.3 KINETICS : 1/48 SCALE : EPISODE.6

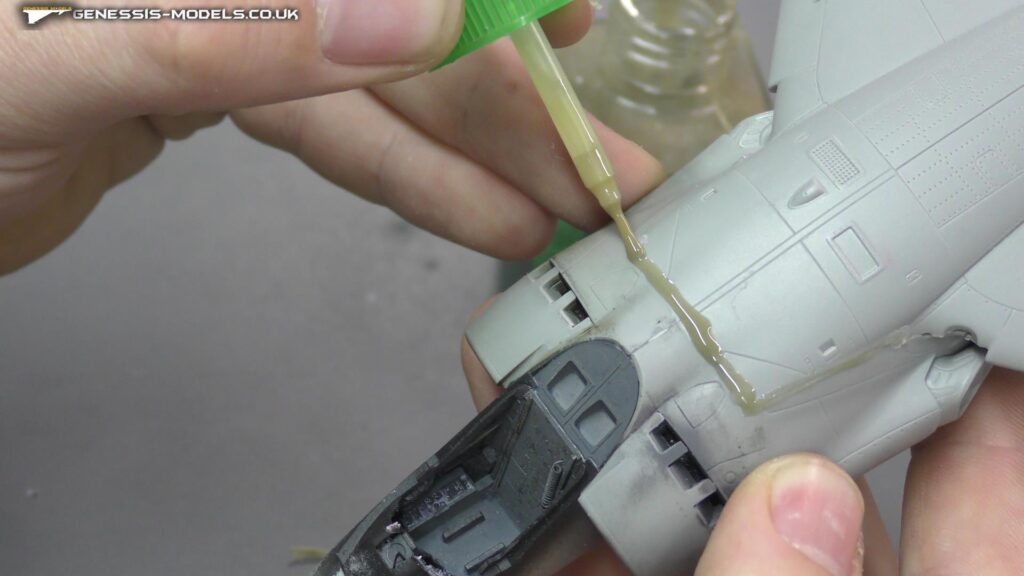
HARRIER GR.1/GR.3 EPISODE.6 In this episode we go over the fundamentals of bringing our fuselage together and to get the tricking moving engines to go in to our aircraft, we show you how to and what glues to use like Tamiya extra thin plus Mr.Cement SP Black. MC132 Mr. CEMENT SP Black is a black…

Read More

DECALING STAGE : AMK F-14D SUPER TOMCAT : 1/48 SCALE : EPISODE.12

F-14D SUPER TOMCAT EPISODE.12 Time for some decaling, which bills has a tricking one to lay down for you, it will need some cutting with the doors and pitot tubes to go around, he even gets round to dirtying up them wheels to add that nice bit of extra detail. Special Tools: Tamiya : Decal Tweezers…

Read More

FINAL COCKPIT BITS : BUILDING THE HARRIER GR.1/GR.3 KINETICS : 1/48 SCALE : EPISODE.5

HARRIER GR.1/GR.3 EPISODE.5 Weathering the cockpit, is started by using ammo’s oil brushers, this time to bring out the finer details of the instrument panels and ejection seat, and to also give the hole cockpit a feathered dirty look, this is followed by adding a matt coat to bring all the areas together under one…

Read More

AMMO ANTI-SLIP PASTE : AMK F-14D SUPER TOMCAT : 1/48 SCALE : EPISODE.11

F-14D SUPER TOMCAT EPISODE.11 This product has the correct colour to accurately represent the gritty surface used on the areas where the crew steps on to avoid slipping. Apply directly from the container and spread the paste with a brush. For optimal results apply two layers, the second layer perpendicularly to the first, in order…

Read More

WEATHERING COCKPIT : KINETICS HARRIER GR.1/GR.3 : 1/48 SCALE : EPISODE.4

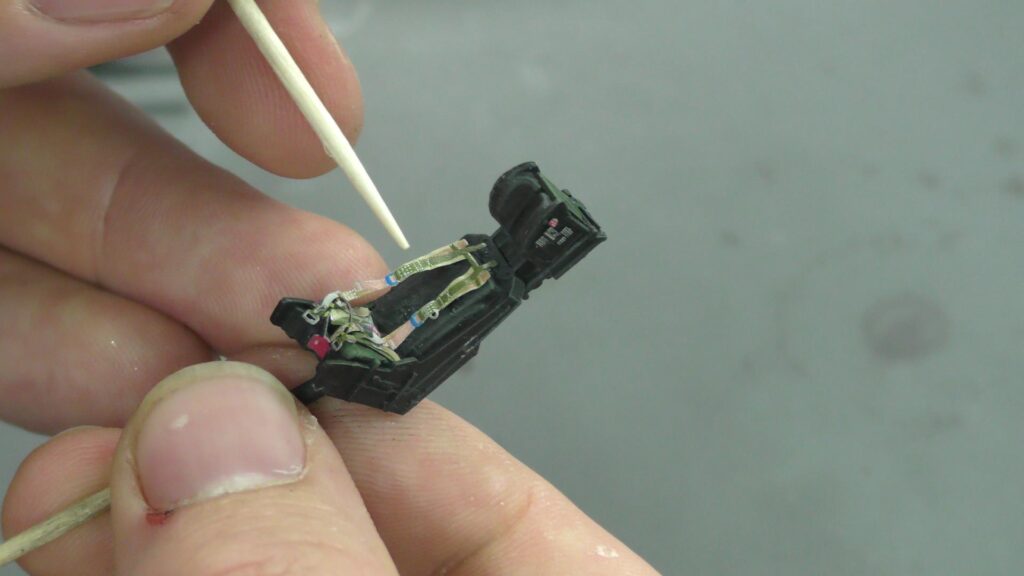
HARRIER GR.1/GR.3 EPISODE.4 With the 3d decals in place now, we can begin some painting, from basics to washes to highlighting, we will cover a bit of chipping and move along to adding photo-etch seat belts and then do oil wash weathering in the cockpit tube and ejection seat. Special Tools: Trumpeter : Tweezers Set :…

Read More

WEATHERING THE CANS : AMK F-14D SUPER TOMCAT : 1/48 SCALE : EPISODE.10

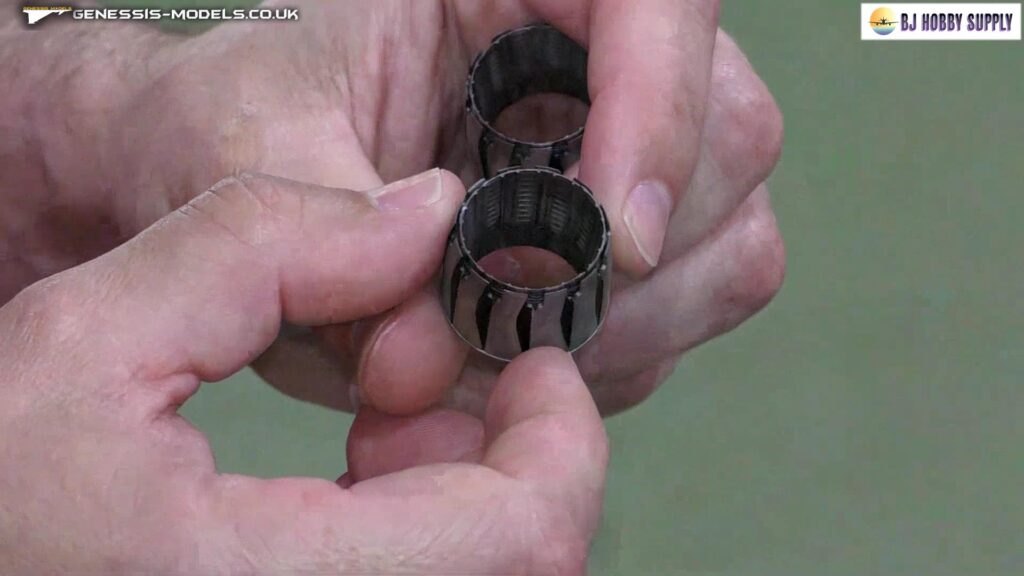
F-14D SUPER TOMCAT EPISODE.10 Bill continues with the build by spraying down a gloss coat ready for decaling, but keeping to Tamiya LP paints just to try the gloss out there for the first time, he then goes in to some nice detail on how to weather up your exhaust cans, from the spraying to…

Read More

3D DECALING : KINETICS HARRIER GR.1/GR.3 : 1/48 SCALE : EPISODE.3

HARRIER GR.1/GR.3 EPISODE.3 3D Decaling is what it’s about in this episode, but are they good or bad, is it better to stick with photo-etch, or maybe the Manufacturer “kits world” are just not up to the task, lets find out and get decaling, O and a bit more photo-etch to do as well. Special…

Read More